Español
 Horticutral Lighting
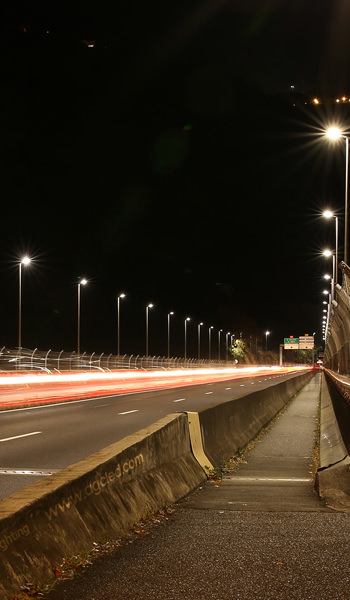

As the sun sets, outdoor landscapes don’t have to disappear into darkness. Landscape lighting enhances the beauty of pathways, architectural features, and plants. However, in today’s world, illuminating outdoor landscapes, whether public or residential, can strain your budget.
According to CBC News’s price tracker, the average cost of electricity has risen from $0.14 per kilowatt-hour in 2019 to $0.18 per kilowatt-hour in 2024 - a significant increase of over 28.5%.
This makes it crucial to prioritize not just aesthetics but also energy efficiency and sustainability when planning your landscape lighting.
Basic of landscape lighting
Landscape lighting is much more than just placing lights around the yard. It’s a thoughtful combination of design, energy efficiency, and environmental awareness. When done effectively, landscape lighting serves three key purposes: safety, functionality, and visual enhancement.
- Safety: Landscape lighting helps ensure safe navigation throughout the property. Well-lit walkways and entrances make it easier for residents to move around without the risk of tripping or accidents, especially after dark.
- Functionality: Landscape lighting extends the usability of outdoor spaces. By illuminating public areas, like gardens and patios, as well as private zones, such as backyard retreats, lighting enables residents to fully enjoy their outdoor environments for both leisure and entertainment.
- Visual enhancement: Landscape lighting can highlight the best features of your property, creating an inviting and visually appealing atmosphere. Integrating these elements into a cohesive lighting plan enhances the overall design.
Strategic layout and placement
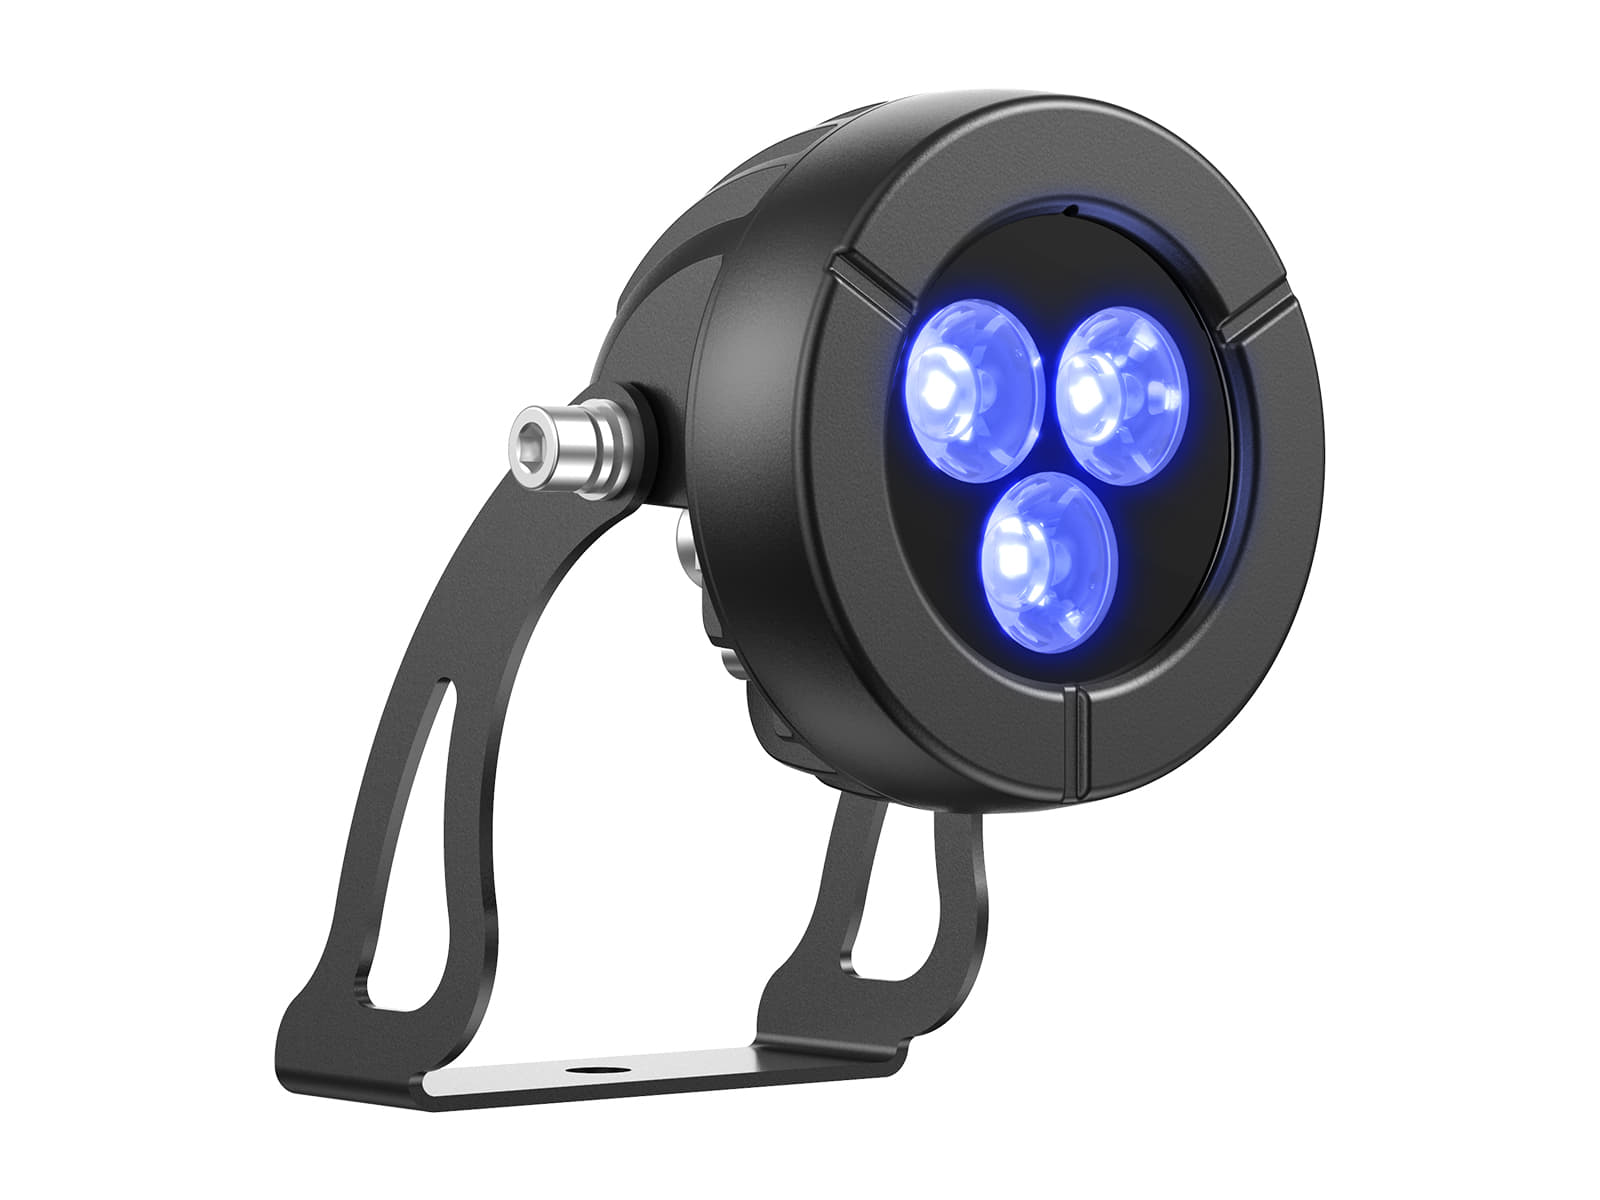
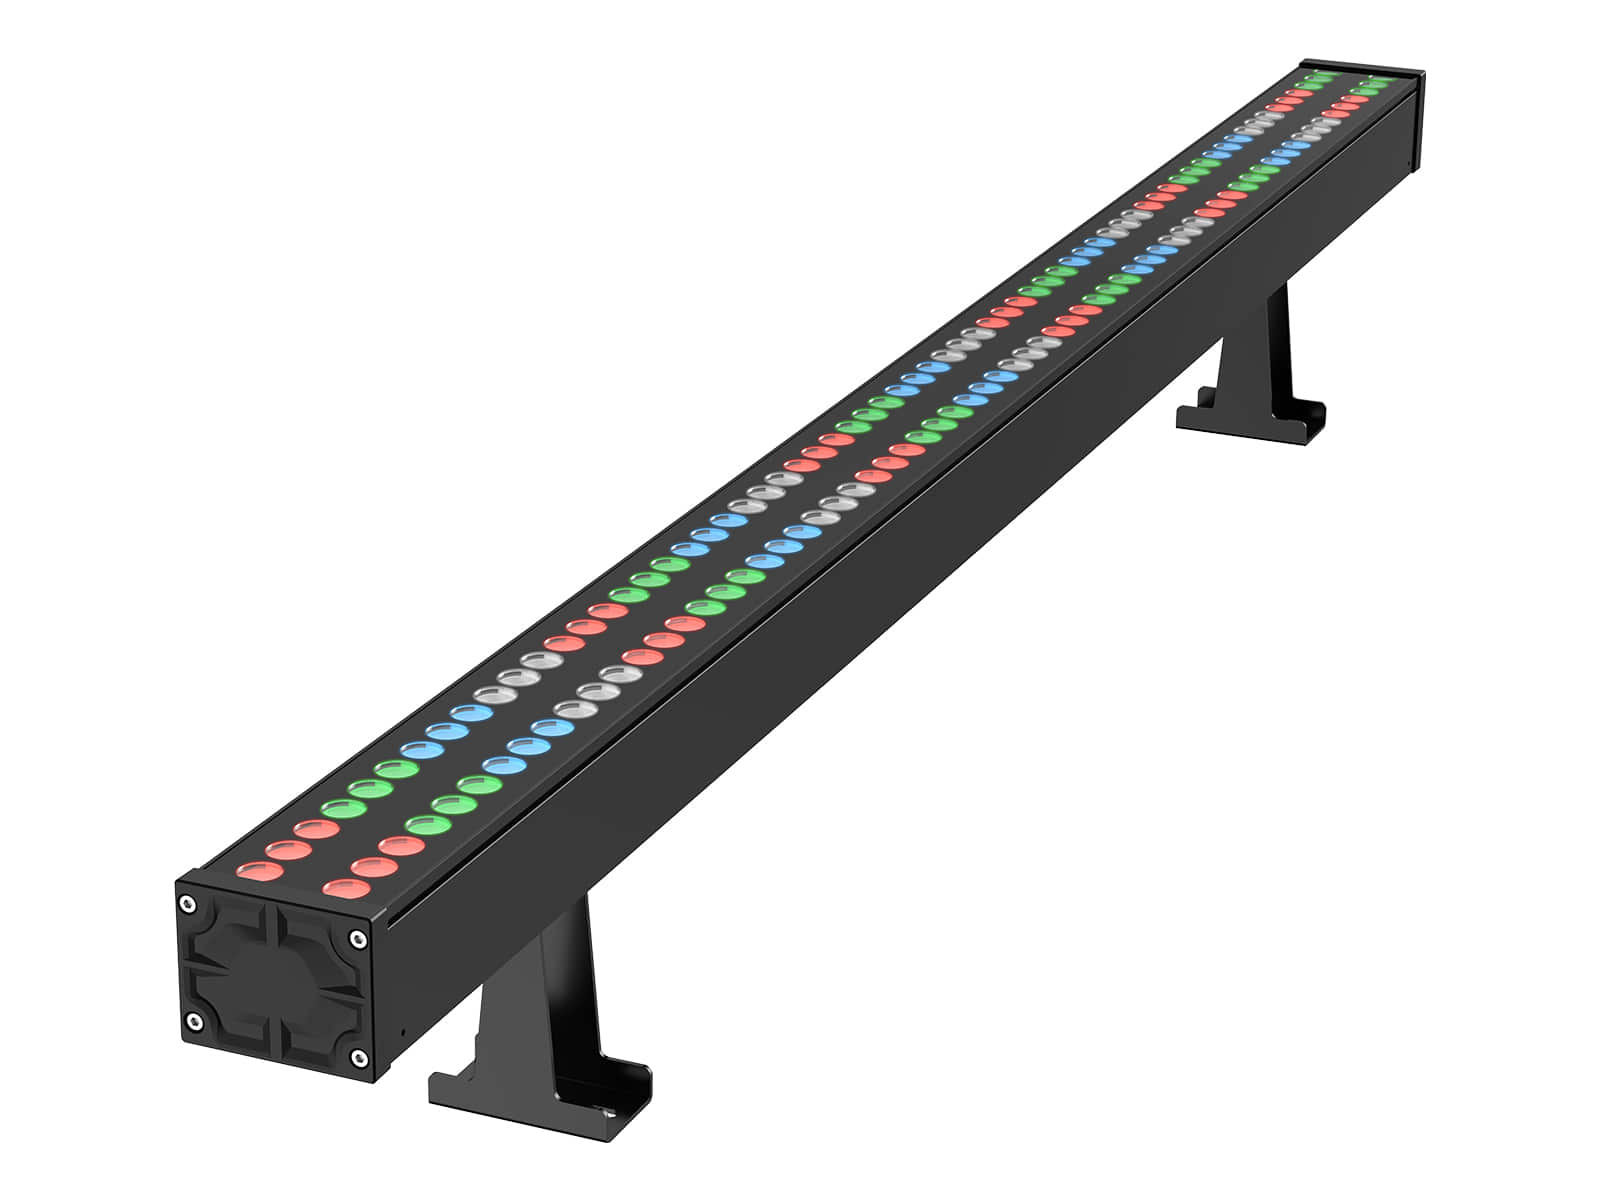
Effective landscape lighting relies on a thoughtful layout that maximizes illumination while minimizing energy consumption. Begin by assessing the key features of your landscape, such as pathways, patios, and architectural elements. Identify the focal points you'd like to highlight, like trees, statues, or water features. RGB/W lighting can make these features more attractive.
Below are some recommendations for the layout and placement of key lighting elements:
Wall washing
Wall washing creates even, diffuse illumination across low walls, accentuating the texture and details of surfaces. This technique is especially effective for entrances, gated communities, or architectural features like capstones. The goal is to highlight the wall without creating harsh shadows, providing a soft, welcoming glow.

Area lighting
Area lighting is used to illuminate larger spaces, such as planting beds or pathways, to create a seamless flow between different lighting scenes. Unlike accent lighting, it doesn’t focus on any single feature, but instead provides general illumination to a broader area.
For optimal results, place fixtures alternately along the path—one on each side—to create a balanced effect. However, this placement should be adjusted according to the specific conditions of the space. Ensure the fixtures are spaced far enough apart to create distinct pools of light, promoting visual comfort and preventing overly bright or dim areas.

Up lighting
Up lighting involves placing fixtures at ground level to direct light upward, highlighting trees, plants, or architectural features.
- For dense foliage, such as pine trees, place the fixtures just outside the plant’s drip line. Space them about 5 feet apart to achieve even illumination.
- For trees with less dense foliage, fewer fixtures are needed, and they can be spaced 8 to 10 feet apart.
- When lighting tree trunks, use a low-intensity grazing technique to bring out textures while keeping the fixture grounded and subtle.
- When uplighting large plants and trees, fixtures should be aimed above an angle of 60º measured off the horizontal axis.

Moonlighting
Moonlighting involves mounting fixtures in trees to create a soft, natural light that illuminates large areas below. This technique is ideal for linking different lighting scenes and eliminating dark spots, or "black holes," in the landscape.
- To achieve even illumination, place the fixtures at least 24 feet high, positioned at a 45-degree angle from the horizontal.
- It’s recommended to use at least two lights per tree for a more balanced effect.
- Avoid attaching fixtures directly to the tree canopy, as this can damage the tree and promote rot.

Shadowing
Shadowing involves placing lighting fixtures in front of trees, fountains, or other elements to cast dramatic shadows on nearby walls or surfaces.
This technique can break up the monotony of linear wall patterns, adding texture and visual interest. When using plant material to create shadows, it’s important to regularly trim the plants, as they may grow and obstruct the desired shadow effect. Fixtures may also need to be repositioned to maintain the quality of the shadows.
Silhouetting
Silhouetting creates a striking effect by backlighting objects, such as plants or architectural features, to make them stand out as dark silhouettes against a lit backdrop.
This technique is ideal for showcasing objects or features with distinctive shapes, such as dense tropical plants or statues. Silhouetting produces a dramatic, mysterious effect, enhancing the visual appeal of objects while highlighting their contours and forms.
Solar powered lighting
Incorporating solar-powered lighting into your landscape not only enhances its beauty but also supports sustainable living. Unlike traditional lighting, solar-powered fixtures use the sun's energy, converting it into electricity without the need for external power sources.
One of the primary advantages of solar-powered lighting is its ease of installation. Since there is no need for wiring or electrical outlets, you can place the lights virtually anywhere. This flexibility allows for creative lighting designs and the ability to rearrange fixtures as needed without the hassle of rewiring.
When selecting solar lights, consider the placement of solar panels to maximize sunlight exposure. Position solar panels at an angle matching your latitude for optimal year-round charging efficiency. Consistent exposure ensures that the panels can absorb sufficient energy during the day to power the lights at night.
Another important factor to consider is the battery capacity and resistance to outdoor environments.
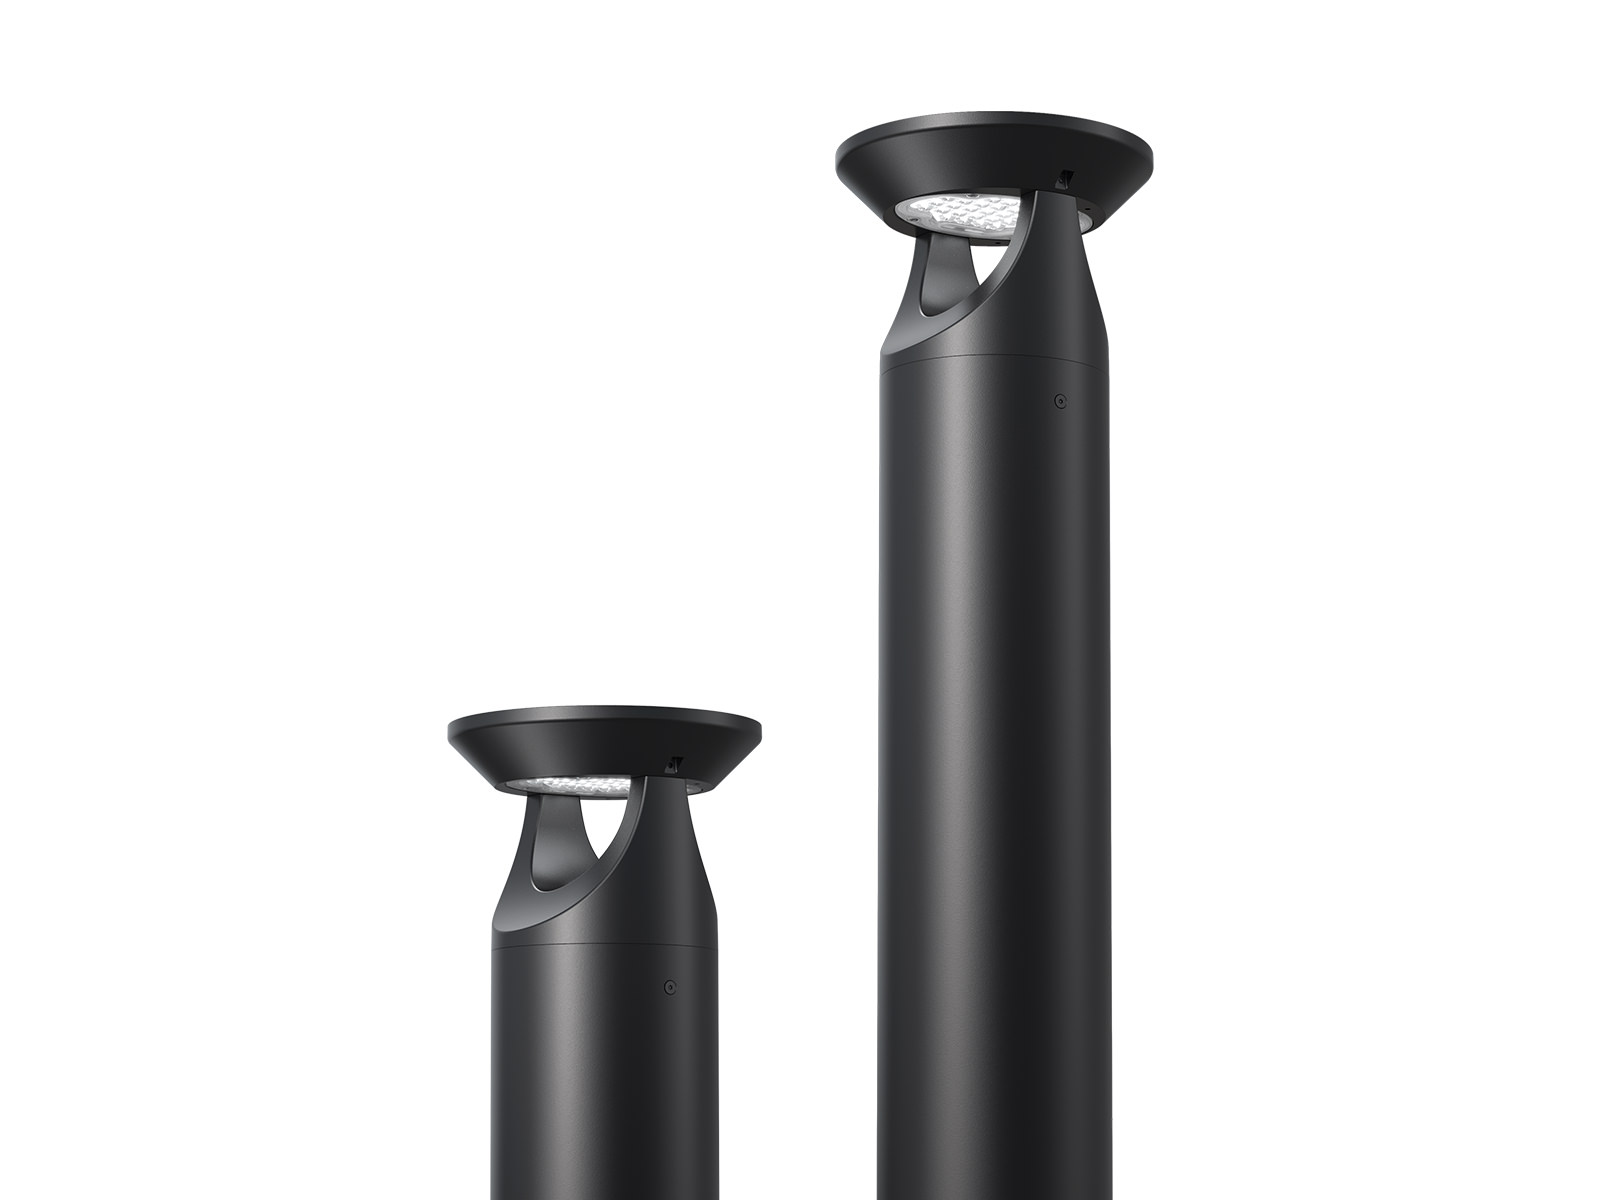
Our BL04 bollard light utilizes high-efficiency rechargeable batteries and solar panels. During the initial charge, which may take over 8 hours, the light gains the ability to operate continuously for 3-4 days. One remarkable feature of the BL04 is its ability to function in temperatures as low as -20℃(-4℉). However, for optimal performance, the light's battery requires direct sunlight and temperatures above 0℃(32℉) during the day to efficiently charge.

Smart lighting control
By integrating advanced technology, smart lighting systems offer unparalleled convenience, efficiency, and sustainability, transforming your garden into an intelligent and eco-friendly haven.
Motion sensors are a common component of smart lighting systems. These sensors detect movement and trigger the lights to turn on only when someone is nearby, providing illumination for safety and security while minimizing unnecessary energy consumption. But proper selection and installation are critical to avoid the false trigger of sensors.
One of the key benefits of smart lighting control is its ability to create customizable lighting schedules. You can set your lights to turn on and off at specific times, ensuring your landscape is beautifully lit when needed and conserving energy when it's not. Some systems even have adaptive lighting features that adjust the brightness based on the time of day or the level of ambient light, further optimizing energy use.
For example, our BL04 Bollard Lights come with a remote control that allows you to set custom lighting modes. This feature not only provides convenience but also helps you save energy by adjusting the lighting to your needs throughout the day.

Dark sky lighting
The International Dark-Sky Association (IDA) is dedicated to preserving and protecting the nighttime environment, along with our heritage of dark skies, through the use of quality outdoor lighting. This mission has given rise to the concept of dark sky lighting.
The primary goal of dark sky lighting is to minimize light trespass and glare. This can be achieved by using fixtures that direct light downwards, focusing illumination on the ground rather than the sky. Shielded fixtures and full-cutoff designs are essential in preventing light from spilling into unwanted areas and reducing glare that can disrupt both human and animal activities.
One effective strategy is to choose warm-colored, amber, or red LEDs. From this, you can reduce the blue light emission, which is particularly harmful to nocturnal wildlife and human circadian rhythms.
Consider incorporating landscaping elements like trees and shrubs to naturally block and absorb excess light. This not only enhances the aesthetic appeal of your outdoor space but also contributes to reducing light pollution.

Proper installation of landscape lighting
Proper installation is the key to a successful landscape lighting system. It ensures both functionality and longevity, providing optimal performance while minimizing energy consumption. Landscape lighting typically involves three main types of installations: ground-mounted, in-grade, and above-grade. Below are installation tips for each method to ensure durability and performance:
Ground-mounted
Ground-mounted fixtures, including uplights and bollard lights, are typically installed using ground stakes or post-mount assemblies.
To prevent corrosion, stakes are usually made from brass, copper, steel, or other materials that are non-reactive to soil.
Ensure leaving extra cable at each fixture location—typically 3 to 5 feet. This allows for future adjustments, maintenance, or relocation of fixtures. Burying the excess cable ensures it won’t interfere with plant growth while maintaining flexibility for fixture movement over time.
In-grade
In-grade fixtures, or "sealed" well lights, are typically installed directly into the soil or embedded in concrete.
These fixtures must be fully enclosed to prevent water or debris from entering the housing, which can damage the fixture and its components.
When preparing the installation site, make sure the hole or pit allows water to drain away from the fixture. This will help avoid water buildup and prolong the life of the light.
Above-grade
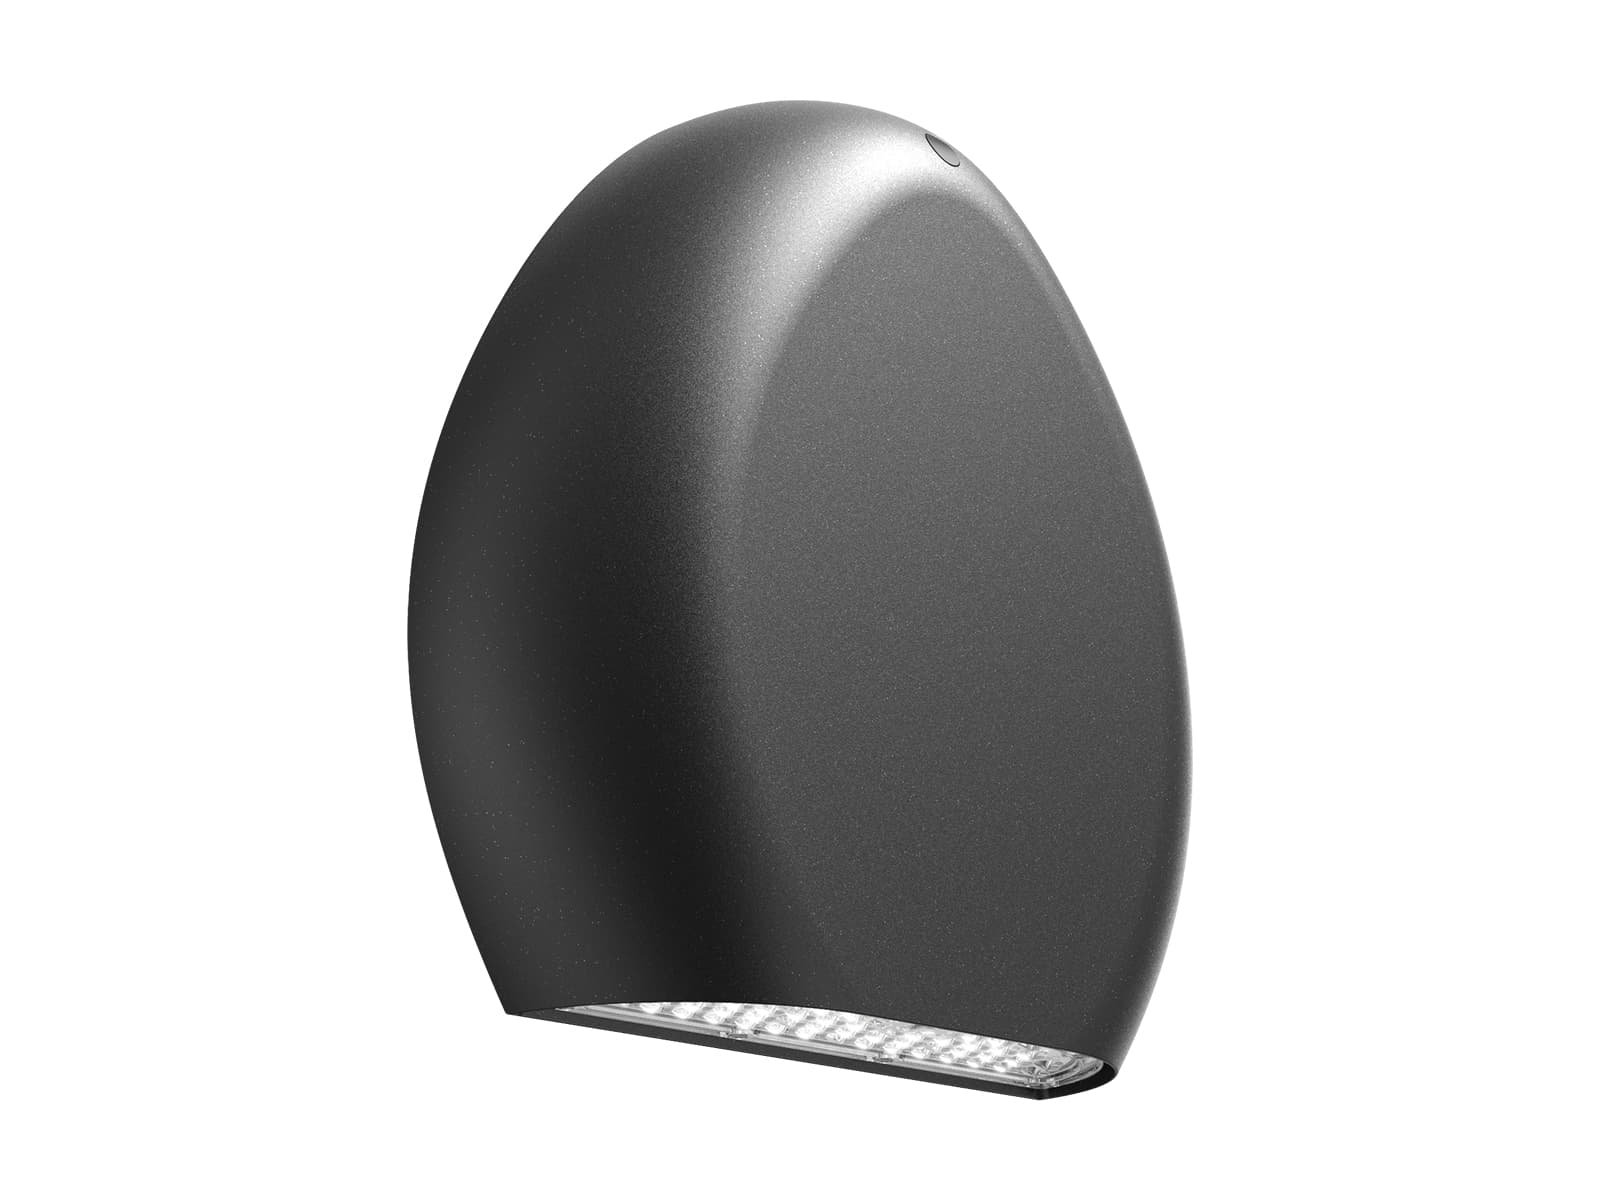
Above-grade fixtures are mounted to structures like walls, fences, or trees. Common examples include wall-washing lights.
- For aesthetic reasons, ensure that the cable runs are hidden from the primary viewing angle.
- All connections should be solid and waterproof to ensure both safety and reliability.
- Use stainless steel fasteners to avoid staining or discoloration of the mounting surface.
Similar to ground-mounted fixtures, leave an additional 6 to 12 inches of cable at each location for future servicing or adjustments.